SV Bogel
News
Gemeinde
Vereine
Termine
Kontakt
Impressum
Datenschutz
Links
Sitemap
Sie befinden sich hier:
Home
Fotos
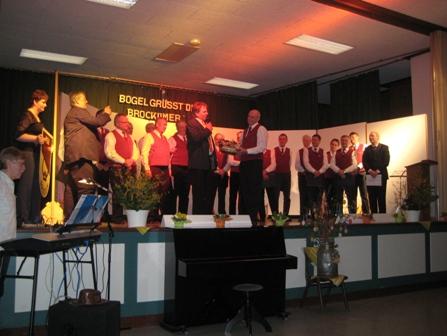
Brockum zu Gast beim MGV 2009
Foto 3
Seniorenausflug 2017
Fastnacht 2017
Kinderfastnacht 2017
Seniorenweihnachtsfeier 2016
Heimat- und Erntedankfest 2016
Seniorenausflug 2016
Seniorenausflug 2015
Waldwanderung 2015
Seniorenweihnachtsfeier 2014
30 Jahre Partnerschaft mit Couffe 2014
Seniorenausflug 2014
Seniorenweihnachtsfeier 2012
Seniorenweihnachtsfeier 2011
Heimat- und Erntedankfest 2011
Seniorenweihnachtsfeier 2010
Bogel im Winter 10/11
Bogel im Winter 09/10
Adventssingen 2009
Seniorenweihnachtsfeier 2009
90. Todestag Förster Rohwein
Baumpflanzung am Weg Bogel-Ru
Besuch in Couffe 2009
Konsti. Sitz. 17.07.09
Brockum zu Gast beim MGV 2009
RLZ vor Ort 2008
Barfußpfad
Baumpflegekurs
Dorffest 2007
MGV in Couffe 2007
Nähere Umgebung
Seniorenkaffee 2007
Strassenausbau 2007
Streuobstwiese
zurück
| Foto 3 von 3 |
Zurück zur Übersicht
zurück
| Foto 3 von 3 |
Zurück zur Übersicht